1 MS 系统 API 调用
请求的 HTTP 头要设置两个值:accessKey 和签名
加密方式:对称加密
加密算法:AES,加密模式:CBC,填充方式:PKCS5Padding
签名中加了时间戳,也就是说生成的签名只在特定的时间范围内有效,默认 30 分钟
2 实现步骤
首先需要知道 MS 的 accessKey 和 secretKey 来生成 signature,ak 和 sk 可以在个人信息中生成

还需要一个“浏览器”( POST 请求),去执行测试计划,具体代码可参考下面
/**
     * http post 请求
     *
     * @param url
     * @param json
     * @param config
     * @return
     */
    public static String post(String url, String json, HttpClientConfig config) {
        CloseableHttpClient httpClient = HttpClientBuilder.create().build();
        HttpPost httpPost = new HttpPost(url);
        if (config == null) {
            config = new HttpClientConfig();
        }
        try {
            httpPost.setConfig(config.buildRequestConfig());

            Map<String, String> header = config.getHeader();
            for (String key : header.keySet()) {
                httpPost.addHeader(key, header.get(key));
            }
            httpPost.addHeader(HTTP.CONTENT_TYPE, "application/json");
            httpPost.addHeader(HTTP.CONTENT_ENCODING, config.getCharset());

            EntityBuilder entityBuilder = EntityBuilder.create();
            entityBuilder.setText(json);
            entityBuilder.setContentType(ContentType.APPLICATION_JSON);
            entityBuilder.setContentEncoding(config.getCharset());
            HttpEntity requestEntity = entityBuilder.build();
            httpPost.setEntity(requestEntity);

            HttpResponse response = httpClient.execute(httpPost);
            HttpEntity entity = response.getEntity();
            return EntityUtils.toString(entity, config.getCharset());
        } catch (Exception e) {
//            logger.error("HttpClient查询失败", e);
            throw new RuntimeException("HttpClient查询失败", e);
        } finally {
            try {
                httpClient.close();
            } catch (Exception e) {
//                logger.error("HttpClient关闭连接失败", e);
            }
        }
    }
定义全部变量,分别写 ak,sk 和 ms 地址
//MS accessKey,可在个人信息生成
private static String accessKey = "xxxxxxxxxxx";
//MS secretKey,可在个人信息生成
private static String secretKey = "xxxxxxxxxxx";
//MS服务器地址
private static String endpointUrl = "https://xxxxxxxxxxx";
用 ak 和 sk 来生成 signature 的算法
/**
     * 签名算法
     *
     * @param src
     * @param secretKey
     * @param iv
     * @return
     * @throws Exception
     */
    private static String aesEncrypt(String src, String secretKey, String iv) throws Exception {
        byte[] raw = secretKey.getBytes(StandardCharsets.UTF_8);
        SecretKeySpec secretKeySpec = new SecretKeySpec(raw, "AES");
        Cipher cipher = Cipher.getInstance("AES/CBC/PKCS5Padding");
        IvParameterSpec iv1 = new IvParameterSpec(iv.getBytes());
        cipher.init(Cipher.ENCRYPT_MODE, secretKeySpec, iv1);
        byte[] encrypted = cipher.doFinal(src.getBytes(StandardCharsets.UTF_8));
        return Base64.encodeBase64String(encrypted);
    }
生成签名,并设置到 header
/**
     * 生成签名,并设置到header
     *
     * @return
     */
    private static HttpClientConfig auth() {
        HttpClientConfig httpClientConfig = new HttpClientConfig();
        httpClientConfig.addHeader("Accept", "application/json;charset=UTF-8");
        httpClientConfig.addHeader("accessKey", accessKey);
        httpClientConfig.addHeader("Content-type", "application/json");
        String signature;
        try {
            signature = aesEncrypt(accessKey + "|" + UUID.randomUUID().toString()
                    + "|" + System.currentTimeMillis(), secretKey, accessKey);
        } catch (Exception e) {
            LogUtil.error(e.getMessage(), e);
            throw new MeterSphereException("签名失败: " + e.getMessage());
        }
        httpClientConfig.addHeader("signature", signature);
        return httpClientConfig;
    }
设置请求测试计划接口需要的参数
/**
    * 调起测试计划
    */
   public static void execTestPlan() {
       //项目Id,必填
       String projectId = "xxxxxxxxxxx";
       //运行环境Id,非必填
       String runEnvironmentId = "";
       String testPlanId = "xxxxxxxxxxx";
       String userId = "xxxxxxxxxxx";
       //串行还是并行,serial---串行,parallel---并行
       String mode = "parallel";
       //资源池Id,非必填
       String resourcePoolId = "";

       Map<String, String> envMap = new HashMap<>();
       envMap.put(projectId, runEnvironmentId);
       Map<String, Object> params = new HashMap<>();
       params.put("testPlanId", testPlanId);
       params.put("projectId", projectId);
       params.put("triggerMode", "API");
       params.put("userId", userId);
       params.put("mode", mode);
       params.put("resourcePoolId", resourcePoolId);
       params.put("runWithinResourcePool", true);
       params.put("onSampleError", false);
       params.put("reportType", "iddReport");
       params.put("envMap", envMap);
       params.put("environmentGroupId", "");
       params.put("environmentType", "JSON");

       System.out.println("测试计划执行param" + JSON.toJSONString(params));
       String responseJson = post(endpointUrl + "/test/plan/run/", JSON.toJSONString(params), auth());
       System.out.println("执行结果:" + responseJson);
   }
main 方法执行
public static void main(String[] args) {
        //执行测试计划
        execTestPlan();
}
控制台执行结果

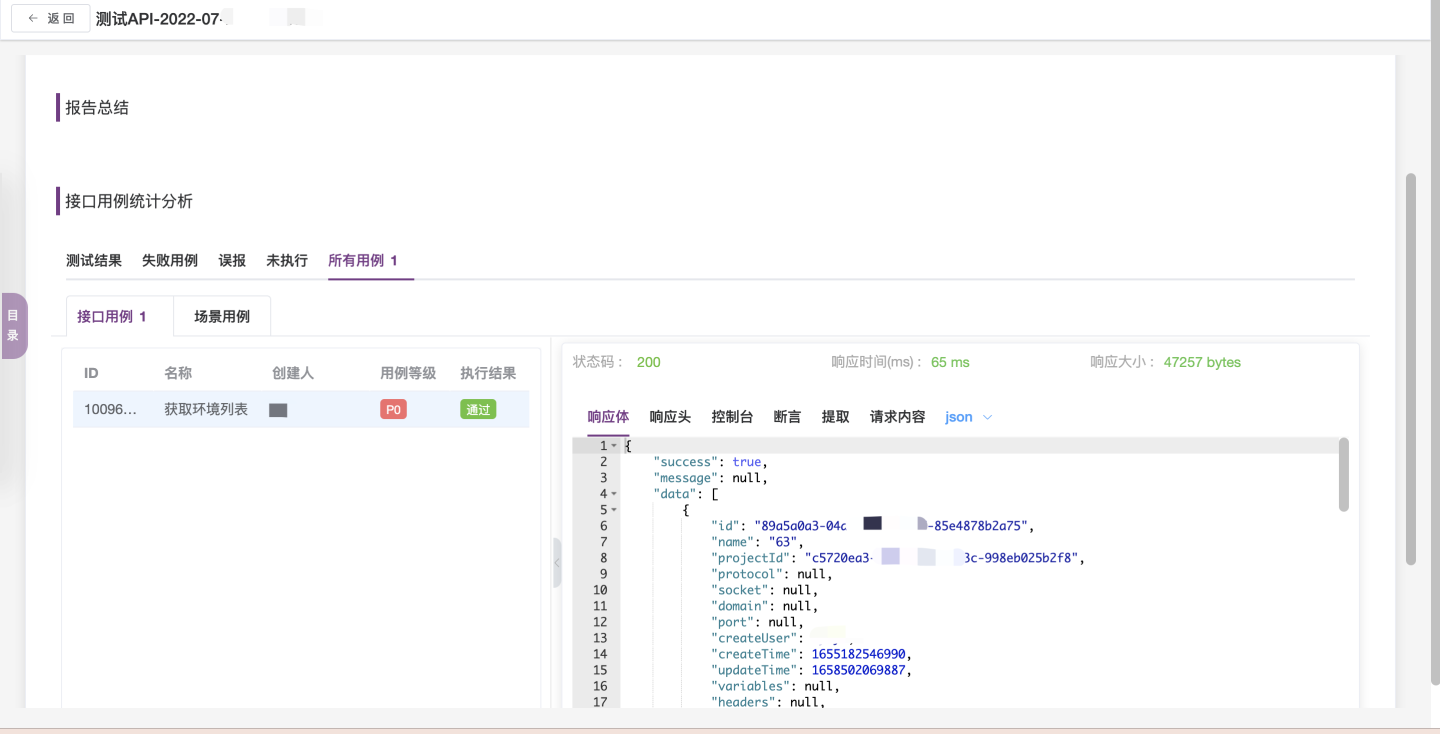
然后【MS 平台-测试报告】处看一下,确实已经执行成功了
